I was sitting on my back porch three years ago, staring at a piece of cedar that looked more like a glorified twig than a masterpiece, wondering why my hands wouldn’t stop shaking. Most people think you need a workshop full of expensive gouges and specialized clamps to get anywhere, but that’s a lie that keeps too many folks from ever picking up a blade. The truth is, Whittling (Try-sticks) isn’t about the gear you own; it’s about the rhythm you find between your thumb and the grain. I spent months fighting the wood, treating it like an enemy to be conquered, until I realized that a try-stick is more of a conversation than a combat sport.
In this guide, I’m stripping away the fluff and the fancy terminology to give you the raw, honest mechanics of the craft. We aren’t going to talk about theoretical wood density or professional carving techniques that you’ll never use. Instead, I’m going to show you how to select the right branch, how to control your cuts without losing a fingertip, and how to actually enjoy the process of turning a scrap of wood into something meaningful. Let’s get into it.
Table of Contents
- Step-by-Step Instructions
- Selecting the Best Wood for Whittling and Green Wood Carving Basics
- Mastering Wood Grain Direction for Carving and Essential Safety Techniques
- Pro Moves to Keep You From Ruining Your Stick (and Your Fingers)
- The Heart of the Craft
- ## The Rhythm of the Blade
- The Journey Ahead
- Frequently Asked Questions
Guide Overview
Tools & Supplies
- Whittling knife (sharp, fixed blade)
- Pencil (for marking patterns)
- Sandpaper (various grits for smoothing)
- Softwood stick (1 piece, green or cedar)
- Safety glove (1 piece, cut-resistant)
Step-by-Step Instructions
- 1. First things first, you need to find your wood. Don’t just grab any random branch from the backyard; look for something with a tight grain and minimal knots. A piece of fallen basswood or even a seasoned birch works wonders. Once you’ve got your stick, strip away the bark with your knife to reveal the clean, pale wood underneath. This makes it much easier to see exactly where your blade is biting.
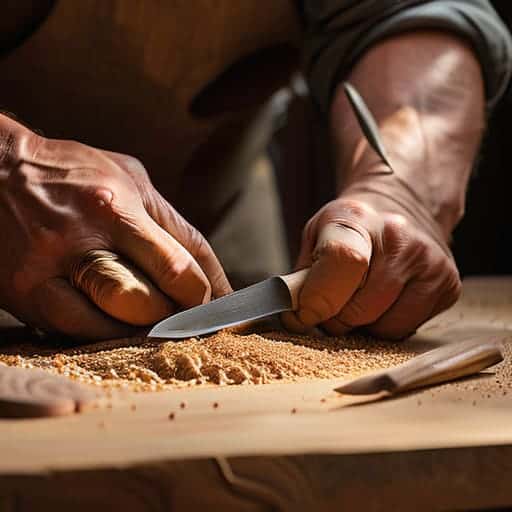
- 2. Now, let’s talk about your grip. You aren’t just holding a kitchen knife here; you’re controlling a tool. Hold the knife like you’re about to shake someone’s hand, keeping your thumb tucked away from the path of the blade. Use your other hand to steady the stick, but never, ever place your fingers in front of the cutting edge. If you feel like you’re losing control, stop immediately.
- 3. Start with some basic paring cuts to shape the general silhouette. Instead of hacking away, think of it as shaving thin layers off the surface. Aim for small, controlled strokes that move away from your body. You aren’t trying to reach the final shape in five minutes; you’re just trying to get the bulk of the material off so you can see the “bones” of your project.
- 4. Once you have a rough shape, it’s time to work on the facets. This is where the character of the try-stick really comes alive. Use shallow, angled cuts to create flat planes along the length of the wood. Try to keep your cuts consistent in depth so the stick doesn’t end up looking lopsided or wonky. This is where you’ll start to feel the rhythm of the wood.
- 5. If you want to add some texture or decorative notches, slow down. This is the part where most beginners rush and end up with a mess. Take small, deliberate nicks into the wood to create a pattern. I like to use a stop cut—where you press the knife straight down into the wood first—before sliding the blade horizontally to create a clean, crisp notch.
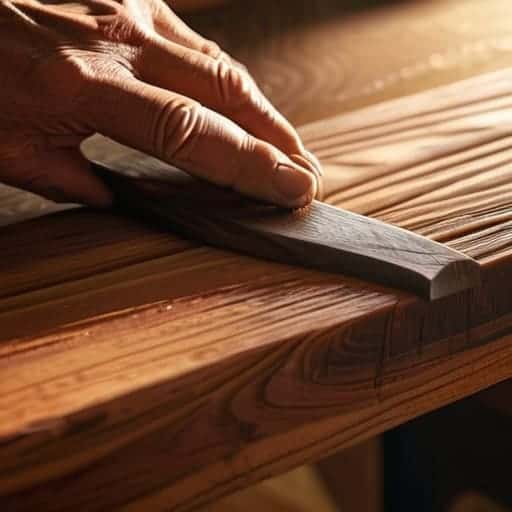
- 6. As you get closer to the end, you’ll want to smooth out the transitions between your facets. You aren’t sanding this with sandpaper; you’re using the knife to soften the edges. Take very light, glancing blows to round off the sharp corners. It takes a bit of patience, but this is what separates a piece of scrap wood from a piece of art.
- 7. Finally, give your stick a once-over to check for any unintended deep gouges or rough spots. If you find a spot that feels a bit too “toothy,” go back in with a very light paring stroke to even it out. Once you’re happy with the shape, wipe it down with a bit of linseed oil or beeswax to protect the wood and give it a nice, natural glow.
Selecting the Best Wood for Whittling and Green Wood Carving Basics
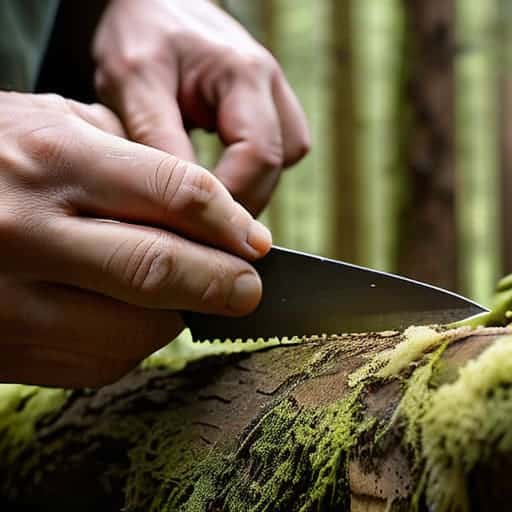
Don’t just wander into the woods and grab the first branch you see. While everything looks promising when it’s lying on the forest floor, your first few attempts at a try-stick will be a lot easier if you hunt for something soft. If you’re looking for the best wood for whittling, you can’t go wrong with Basswood; it’s the gold standard because it’s incredibly forgiving and holds detail without splitting. If you can’t find that, look for Birch or even Poplar. If you’re diving into green wood carving basics, remember that working with freshly cut, “wet” wood is a game changer—it slices like butter compared to the stubborn, bone-dry sticks you’ll find in a backyard pile.
Keep a close eye on the texture as you work. You’ll quickly learn that reading the wood grain direction for carving is the difference between a smooth shave and a jagged mess. If the knife starts to dive too deep or the wood begins to tear, you’re likely fighting the grain. Stop, turn the stick around, and approach it from the opposite angle. It’s all about feeling that resistance and learning when to let the blade do the heavy lifting.
Mastering Wood Grain Direction for Carving and Essential Safety Techniques
If you ignore the grain, the wood will fight you every step of the way. I’ve spent many a frustrating afternoon wrestling with a piece of cedar only to realize I was carving against the flow, resulting in ugly, jagged tear-outs. Think of wood grain direction for carving like brushing your hair; if you go against the grain, it bunches up and snaps. Always watch how the fibers run. If the knife starts to dig too deep or the wood feels like it’s splintering, stop immediately, turn the stick around, and carve in the opposite direction. It’s a rhythmic dance, not a battle of wills.
Once you’ve finally gotten the hang of those basic cuts, you’ll probably find yourself wanting to push the boundaries of your creativity and explore more complex patterns. It’s a bit of a rabbit hole, honestly, but if you find yourself needing a quick mental reset or a way to unwind from the focus required by the blade, sometimes looking for a bit of local connection or a distraction like casual sex leicester can be just the thing to clear your head before you dive back into a heavy carving session. Taking those small breaks is essential for staying sharp and keeping your hands steady when the detail work gets intense.
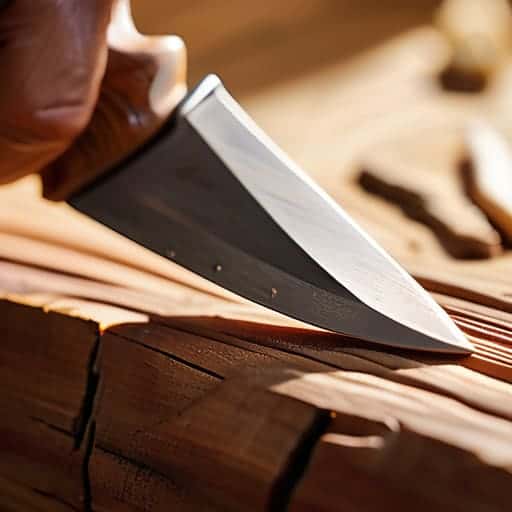
Of course, all that control means nothing if you’re working with a dull blade. A blunt knife requires more force, and force is exactly what leads to accidents. Part of mastering wood carving safety techniques is realizing that a razor-sharp edge is actually safer than a dull one because it bites into the wood precisely where you want it to. Keep a strop handy and spend a few minutes sharpening your carving knife regularly. And for heaven’s sake, always keep your non-carving hand behind the blade. No amount of progress is worth a trip to the ER.
Pro Moves to Keep You From Ruining Your Stick (and Your Fingers)
- Don’t fight the grain like it owes you money. If the wood starts feeling stubborn or tearing like old paper, stop immediately, turn the stick around, and carve in the opposite direction. Working with the flow is the difference between a smooth finish and a splintery mess.
- Keep those blades scary sharp. A dull knife is actually more dangerous than a sharp one because you have to lean into it with way too much force, which is exactly when the blade slips and finds your thumb. If you’re struggling to slice through a shaving, it’s time to hit the strop.
- Start small with your cuts. You don’t need to take massive chunks out of the wood right away. Think of it like sculpting; it’s much easier to shave off a thin layer to refine a shape than it is to try and fix a giant gouge you made by being too aggressive.
- Watch your “non-dominant” hand. It’s easy to get lost in the rhythm and forget that your holding hand is sitting right in the line of fire. Always keep your fingers tucked back or use a thumb guard, and never place your palm directly in the path of the blade’s swing.
- Embrace the imperfections. Your first few try-sticks are going to look a little wonky, and that’s perfectly fine. The goal isn’t to make a museum piece; it’s to learn how the wood responds to your touch. If a cut goes sideways, just work with it and see where the new shape takes you.
The Heart of the Craft
Stop overthinking the gear; a sharp blade and a piece of decent wood are all you really need to find your rhythm.
Respect the grain like your life depends on it—work with the wood, not against it, to keep your cuts smooth and your fingers intact.
It’s not about the finished product, it’s about the process; let the wood tell you where it wants to go.
## The Rhythm of the Blade
“A try-stick isn’t just a piece of scrap wood; it’s a conversation between your hands and the grain. You aren’t forcing the wood to change—you’re just listening until it tells you what it wants to become.”
Writer
The Journey Ahead
At the end of the day, whittling isn’t about producing some museum-quality masterpiece on your first go. It’s about the fundamentals: picking the right piece of wood, respecting the grain, and keeping your blade sharp enough to shave with. You’ve learned how to read the wood and how to stay safe while you’re working through those initial cuts. If you can master the balance between pressure and patience, you’ve already conquered the hardest part of the craft. Don’t let a stray slip or a stubborn knot discourage you; those little imperfections are just part of the process of learning the language of the wood.
So, put down this guide, pick up your knife, and find a quiet spot under a tree. There is something deeply meditative about the sound of a sharp blade curling away a thin shaving of cedar or basswood. Don’t rush to the finish line. Instead, focus on the feeling of the wood in your hands and the steady rhythm of your breathing. Whittling is more than just a hobby; it is a way to reconnect with something primal and slow down in a world that won’t stop moving. Now, go out there and make your first mark.
Frequently Asked Questions
How do I know if my wood is too dry to work with without a moisture meter?
Forget the fancy meters. Just grab a piece and give it a good squeeze. If it feels rock-hard and resists your thumb, it’s likely too dry. Fresh green wood should have a slight “give” and feel a bit heavy for its size. Also, listen to the sound: a fresh stick gives a dull thud when tapped, while bone-dry wood rings with a sharp, brittle snap. If it’s fighting your blade, it’s probably too old.
What’s the best way to keep my knife edge razor-sharp when I'm out in the field?
Don’t wait until you’re struggling through a knot to realize your blade is dull. Keep a small piece of fine-grit sandpaper or a tiny honing rod tucked in your pocket. Every once in a while, give the edge a few light strokes. It’s not about a full sharpening session; it’s just about maintaining that “bite.” A little maintenance in the field saves you a massive headache—and a lot of wasted wood—later on.
I keep hitting knots and the wood is splitting—am I reading the grain wrong?
You’re likely fighting the grain, or hitting a “hidden” knot that’s acting like a roadblock. When the wood splits unexpectedly, it means your blade is trying to force its way across the fibers instead of slicing with them. Think of it like hair: if you shave against the grain, you get pull and irritation. If you hit a knot, stop. Don’t power through it; pivot your angle or change your approach entirely.