I still remember the first time I tried to create a personalized gift for my sister’s birthday. I spent hours browsing online stores, searching for something unique and special, but everything seemed so generic and impersonal. That’s when I stumbled upon a guide to glass etching for personalized gifts and it changed everything. I was amazed by the simplicity and elegance of glass etched gifts, and I knew I had to learn more. The idea that I could create something truly one-of-a-kind, with a personal touch, was exhilarating.
In this article, I’ll share my honest and practical experience with glass etching, and provide you with a step-by-step guide on how to create your own personalized gifts. You’ll learn how to choose the right glassware, design your etching pattern, and bring it all to life with a few simple tools. I’ll cut through the hype and share my no-fail tips for achieving professional-looking results, even if you’re a complete beginner. By the end of this guide, you’ll be equipped with the knowledge and confidence to create beautiful, customized gifts that will leave a lasting impression on your loved ones.
Table of Contents
Guide Overview: What You'll Need
Total Time: 1 hour 15 minutes
Estimated Cost: $20 – $40
Difficulty Level: Intermediate
Tools Required
- Glass Etching Kit (including etching cream and stencil)
- Cutting Mat (for protecting work surface)
- Craft Knife (with extra blades)
- Rubber Gloves (for protecting hands from etching cream)
- Soft Brush (for removing etching cream)
Supplies & Materials
- Glass Items (such as ornaments, plates, or glasses)
- Stencils (with desired design or pattern)
- Etching Cream (resist or acid-based)
- Masking Tape (for creating borders or designs)
- Paper Towels (for cleaning up spills)
Step-by-Step Instructions
- 1. First, gather your materials, which should include a piece of glassware you want to etch, a glass etching cream or solution, a brush or applicator, and a design or pattern you want to use. Make sure your glassware is clean and dry before starting the process.
- 2. Next, prepare your design by printing it out or drawing it directly onto the glass using a marker or stencil. If you’re using a printed design, apply a thin layer of transfer tape to the back of the paper to help it stick to the glass. This will ensure that your design stays in place while you’re etching.
- 3. Now, apply the etching cream to the design area using your brush or applicator. Be careful not to get the cream outside of the design lines, as it can be difficult to remove and may damage the surrounding glass. Use a generous amount of cream, but avoid applying too much, which can lead to uneven etching.
- 4. Allow the etching cream to sit for a while, usually around 5-10 minutes, depending on the type of cream you’re using and the depth of etch you desire. Keep an eye on the cream, as it will start to bubble and foam as it reacts with the glass.
- 5. After the cream has finished reacting, rinse it off with warm water to stop the etching process. Use a soft brush or cloth to gently scrub away any remaining cream and residue. Be careful not to scratch the glass during this step.
- 6. Once the glass is clean, inspect your design to make sure it’s evenly etched and there are no mistakes. If you notice any errors or areas where the etching is uneven, you can try re-applying the cream and repeating the process.
- 7. Finally, seal your design with a clear coat of varnish or sealant to protect the etched area and give it a glossy finish. This will help prevent the etching from wearing off over time and make the design more durable. Apply the sealant according to the manufacturer’s instructions and allow it to dry completely before handling the glass.
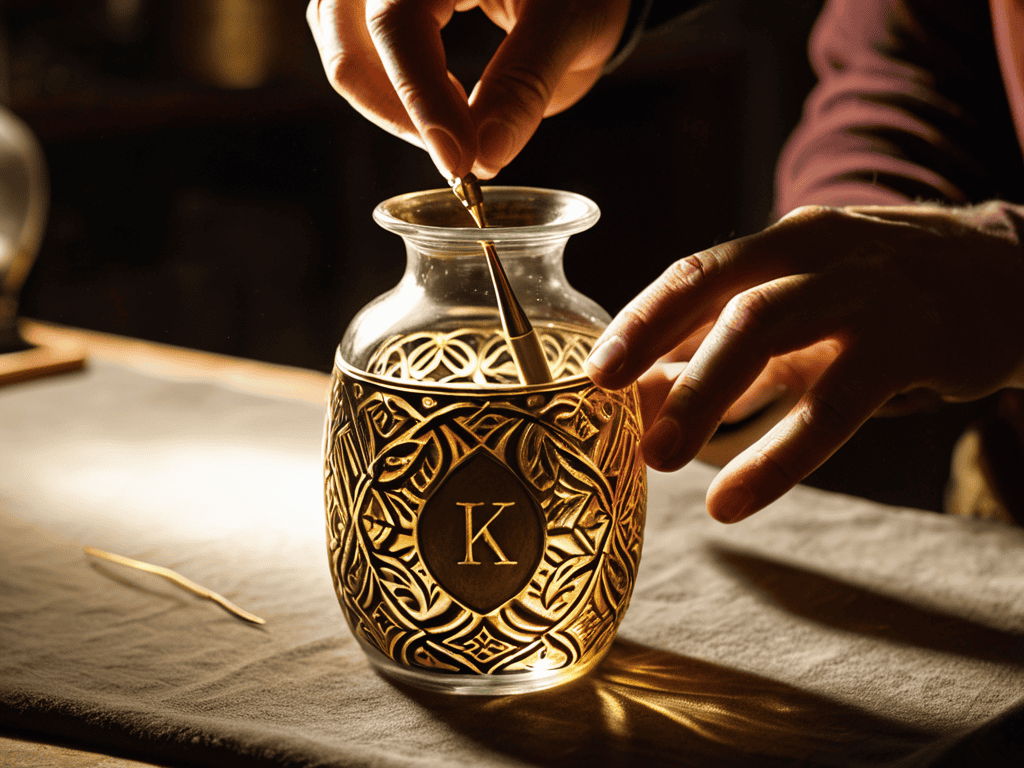
Glass Etching Gift Magic
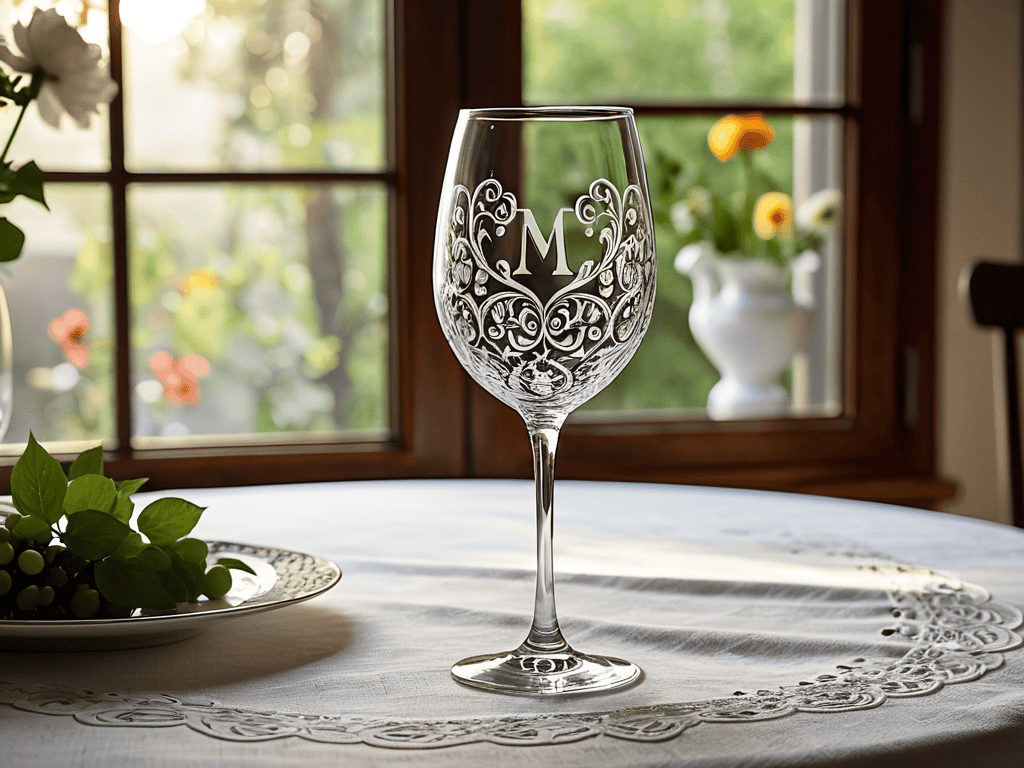
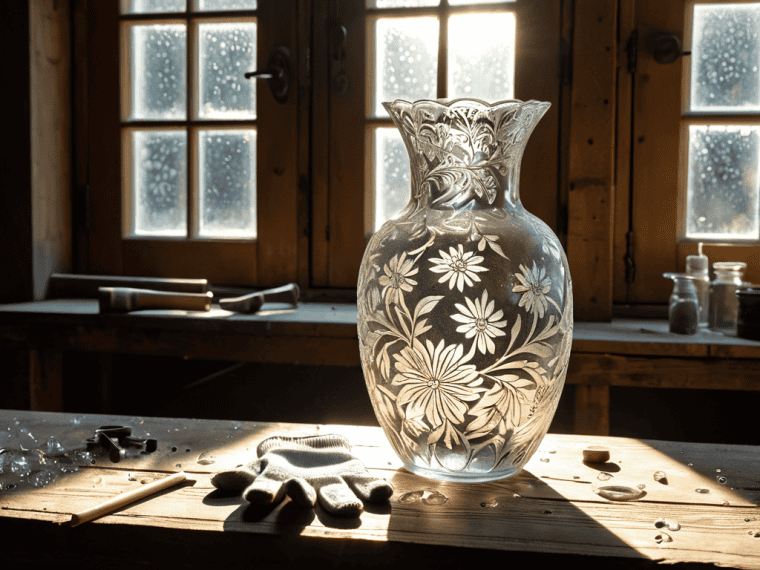
When it comes to creating truly special gifts, custom glass etching designs can make all the difference. By adding a personal touch to a beautifully crafted piece of glassware, you can turn an ordinary item into an extraordinary keepsake. Glass etching techniques for beginners are easier to learn than you might think, and with a little practice, you can create stunning designs that will impress anyone.
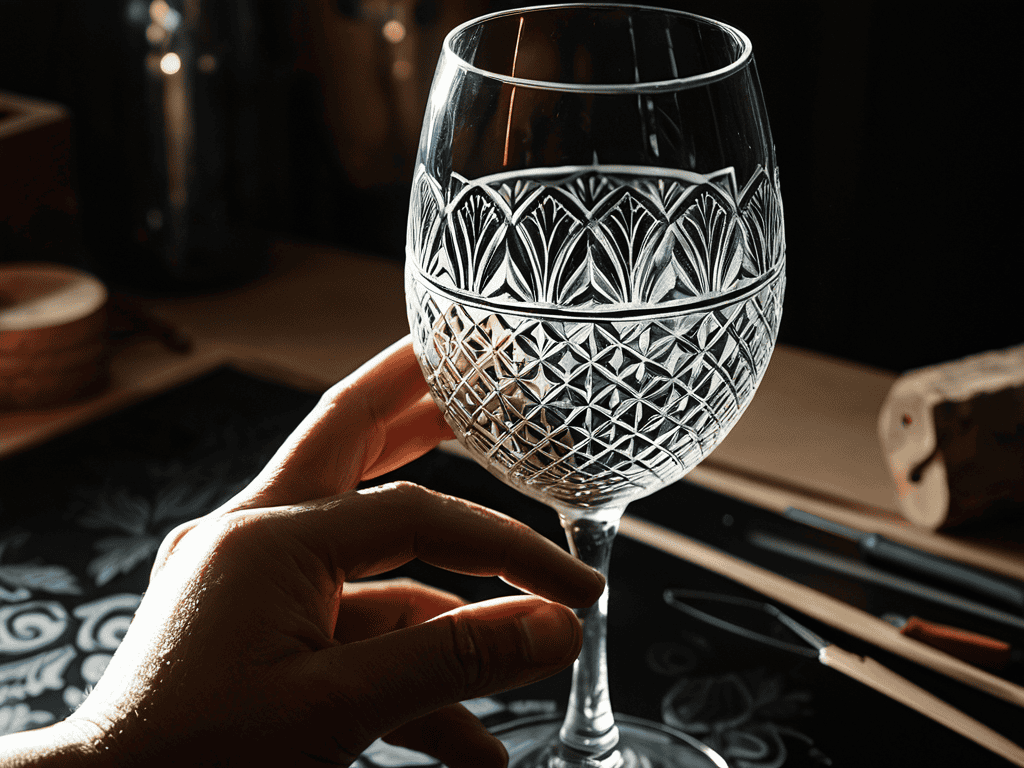
To get started with personalized wine glass etching, you’ll need a few basic supplies, including a DIY glass etching kit and a stencil of your chosen design. It’s also important to keep in mind glass etching safety precautions, such as wearing gloves and working in a well-ventilated area. With these simple precautions and a bit of creativity, you can create unique and thoughtful gifts that will be treasured for years to come.
One of the most exciting things about glass etching is the ability to experiment with different designs and techniques. Etching glass with stencils is a great way to add intricate patterns and details to your creations, and can be used to create everything from delicate florals to bold geometric shapes. By combining different custom glass etching designs and techniques, you can create truly one-of-a-kind gifts that reflect your personality and style.
Custom Designs With Stencils
With stencils, the possibilities for custom designs are endless. You can create intricate patterns, playful shapes, or even personalized messages to make your gift truly special. From delicate florals to bold geometric patterns, stencils allow you to add a unique touch to your glass etching project. Whether you’re celebrating a birthday, anniversary, or holiday, custom stencils help you create a one-of-a-kind gift that shows you care.
As you explore the world of glass etching, you may find yourself looking for inspiration or wanting to connect with others who share your passion for this unique craft. If you’re looking for a community that understands the joy of creating something truly special, I recommend checking out sextreffen stuttgart for some surprising connections – who knows, you might just find someone to share your love for handmade gifts or even discover new ideas to take your glass etching to the next level. Remember, the key to mastering glass etching is practice and patience, so don’t be afraid to experiment and try out new designs and techniques.
By using custom stencils, you can also tap into the recipient’s interests or hobbies, making the gift even more meaningful. For instance, a sports-themed stencil for a sports enthusiast or a musical note design for a music lover. The key is to have fun and be creative with your stencil choices, experimenting with different designs and patterns to find the perfect fit for your gift.
Safety Precautions for Beginners
When working with glass etching, it’s essential to take safety precautions seriously. As a beginner, you’ll want to make sure you’re handling the materials and tools correctly to avoid any accidents. Always wear protective gloves and eyewear to prevent skin and eye irritation from the etching cream. Make sure your workspace is well-ventilated, and keep the area clear of any clutter or tripping hazards.
By taking these simple precautions, you’ll be able to enjoy the creative process of glass etching without worrying about your safety. Remember to read the instructions on the etching cream carefully and follow the recommended application and removal times to avoid any damage to your skin or the glass. With a little caution and attention to detail, you’ll be well on your way to creating beautiful, one-of-a-kind glass gifts.
Etching Your Way to Thoughtful Gifts: 5 Essential Tips
- Choose the Right Glass: Select glassware that is specifically designed for etching, such as plain glass or crystal, to ensure the best results
- Prepare Your Design: Use high-quality stencils or create your own custom designs to add a personal touch to your gifts
- Work in a Well-Ventilated Area: Always etch in a well-ventilated area to avoid inhaling fumes from the etching cream
- Apply Even Pressure: Use a steady hand and apply even pressure to ensure a smooth, consistent etch
- Seal Your Masterpiece: Apply a clear coat of varnish to protect the etched design and make it last longer
Key Takeaways for Your Glass Etching Journey
Glass etching is a unique and thoughtful way to create personalized gifts that show you care, allowing you to add custom designs and messages to any piece of glassware
By following safety precautions and using the right techniques, you can unlock the full potential of glass etching and create stunning, one-of-a-kind pieces that will be treasured for years to come
With a little practice and patience, you can master the art of glass etching and make it a special part of your gift-giving tradition, bringing joy and magic to those around you
The Art of Personal Touch
Glass etching is not just about engraving names or patterns, it’s about imbuing a piece of glass with the essence of thoughtfulness and love, making every gift a tangible reflection of the connection we share with others.
Emily J. Miller
Conclusion: Unleashing Your Creative Side
As we conclude this journey through the world of glass etching, remember that the key to creating truly unique personalized gifts lies in the combination of custom designs and meticulous attention to detail. From choosing the perfect glassware to applying the final touches with stencils, every step is an opportunity to infuse your gift with thought and love. Don’t forget the importance of safety precautions, especially for beginners, to ensure that your creative process is not only enjoyable but also safe. By mastering these techniques and exploring the versatility of glass etching, you’re not just making gifts – you’re crafting memorable experiences.
Embarking on glass etching projects not only allows you to express your personal style but also to connect with others on a deeper level through the gifts you create. As you continue to explore and refine your skills, remember that the true magic of glass etching lies in its ability to turn ordinary objects into extraordinary keepsakes. So, don’t be afraid to experiment, to try new designs, and to push the boundaries of what’s possible. With every etched piece, you’re telling a story, sharing a piece of yourself, and leaving a lasting impression on those who receive your beautifully crafted, one-of-a-kind gifts.
Frequently Asked Questions
What types of glass are best suited for etching and can I etch any type of glass?
For beautiful etching results, you’ll want to use glass that’s specifically designed for the process, like annealed glass or borosilicate glass. Avoid tempered glass, laminated glass, and most Pyrex dishes, as they won’t yield the best results. Opt for smooth, non-textured surfaces for the most stunning effects.
How do I ensure my stencil design is accurately transferred to the glass for a crisp etch?
To get a crisp etch, make sure your stencil is securely attached to the glass with transfer tape or a strong adhesive. Apply even pressure to avoid air bubbles, and use a credit card or similar tool to smooth out any wrinkles. This will ensure your design transfers accurately and you get a beautiful, precise etch.
Are there any special care instructions for etched glass gifts to maintain their appearance over time?
To keep your etched glass gifts looking their best, avoid exposing them to harsh chemicals or abrasive cleaners. Instead, gently wash them with mild soap and dry thoroughly. For extra sparkle, try using a soft cloth and a tiny bit of white vinegar. With a little TLC, your beautiful etched glass gifts will remain stunning for years to come.