I still remember the first time I tried to create a DIY gift basket for my sister’s birthday – it was a disaster. I spent hours browsing through stores, picking out the perfect items, and arranging them in a basket, only to end up with something that looked like a messy clutter. I had heard that how to create a DIY gift basket for any occasion was all about throwing some items together and calling it a day, but I soon realized that wasn’t the case. In fact, creating a beautiful and meaningful gift basket requires some thought and planning. As I delved deeper into the world of DIY gift baskets, I discovered that it’s all about paying attention to details and adding a personal touch.
In this article, I’ll share my honest and practical advice on how to create a DIY gift basket for any occasion. You’ll learn how to choose the right items, arrange them in a way that looks visually appealing, and add a personal message to make it extra special. I’ll take you through a step-by-step guide on how to create a one-of-a-kind gift basket that’s perfect for any celebration, whether it’s a birthday, anniversary, or holiday. By the end of this article, you’ll be equipped with the knowledge and confidence to create a beautiful DIY gift basket that will surely impress your loved ones.
Table of Contents
- Guide Overview: What You'll Need
- Step-by-Step Instructions
- Create Diy Gift Baskets
- Weaving Magic: 5 Essential Tips for Crafting Unforgettable DIY Gift Baskets
- Key Takeaways for Crafting Unforgettable Gift Baskets
- The Gift of Thoughtfulness
- Conclusion: Weaving a Gift of Love
- Frequently Asked Questions
Guide Overview: What You'll Need
Total Time: 1 hour 30 minutes
Estimated Cost: $20 – $50
Difficulty Level: Easy
Tools Required
- Scissors (sharp) for cutting ribbons and decorative items
- Hot Glue Gun (with extra glue sticks) for securing items in the basket
- Tape Measure for measuring the basket and items
Supplies & Materials
- Wicker or Wooden Basket approximately 12 inches in diameter and 6 inches tall
- Decorative Fillers such as crumpled paper, excelsior, or tissue paper
- Gift Items depending on the occasion, e.g., candies, teas, or personalized items
- Ribbons or Gift Wrap for decorating the basket
- Gift Card or Tag optional, for adding a personal message
Step-by-Step Instructions
- 1. First, gather your materials, which should include a basket or container of your choice, some decorative fill like tissue paper or excelsior, and the items you wish to include in the gift basket, such as gourmet foods, candies, or personal care products. Take a moment to think about the theme or occasion for the gift basket, as this will help guide your selection of items.
- 2. Next, prepare your basket by cleaning it thoroughly and applying a coat of paint or varnish if desired. This step can help give your gift basket a more polished and professional appearance. Consider the color and style of the basket and how it will complement the items you’ve chosen to include.
- 3. Now, add a layer of decorative fill to the bottom of the basket. This can help add some visual interest and prevent the items in the basket from getting lost or hidden. You can use a single type of fill or mix and match different textures and colors to create a unique look.
- 4. Begin placing the items you’ve selected into the basket, starting with the largest or most substantial items first. This will help create a balanced arrangement and ensure that everything fits comfortably in the basket. Take your time and experiment with different placements until you find a configuration that looks appealing to you.
- 5. As you continue adding items to the basket, consider the visual appeal of each piece and how it contributes to the overall aesthetic of the gift. Think about color, texture, and shape, and try to create a harmonious balance of these elements. Don’t be afraid to move things around or remove items that don’t quite fit with the rest.
- 6. Once you’ve added all the items to the basket, finish it off with some decorative touches, such as a ribbon or gift tag. This can help add a personal and thoughtful element to the gift, and make it feel more special and unique. Choose a ribbon or tag that complements the colors and theme of the basket.
- 7. Finally, take a step back and evaluate your finished gift basket. Make any necessary adjustments to the arrangement of the items or the decorative elements. Take a moment to admire your handiwork and feel proud of the beautiful, one-of-a-kind gift you’ve created. With these steps, you’ll have a truly unforgettable gift basket that’s perfect for any occasion.
Create Diy Gift Baskets
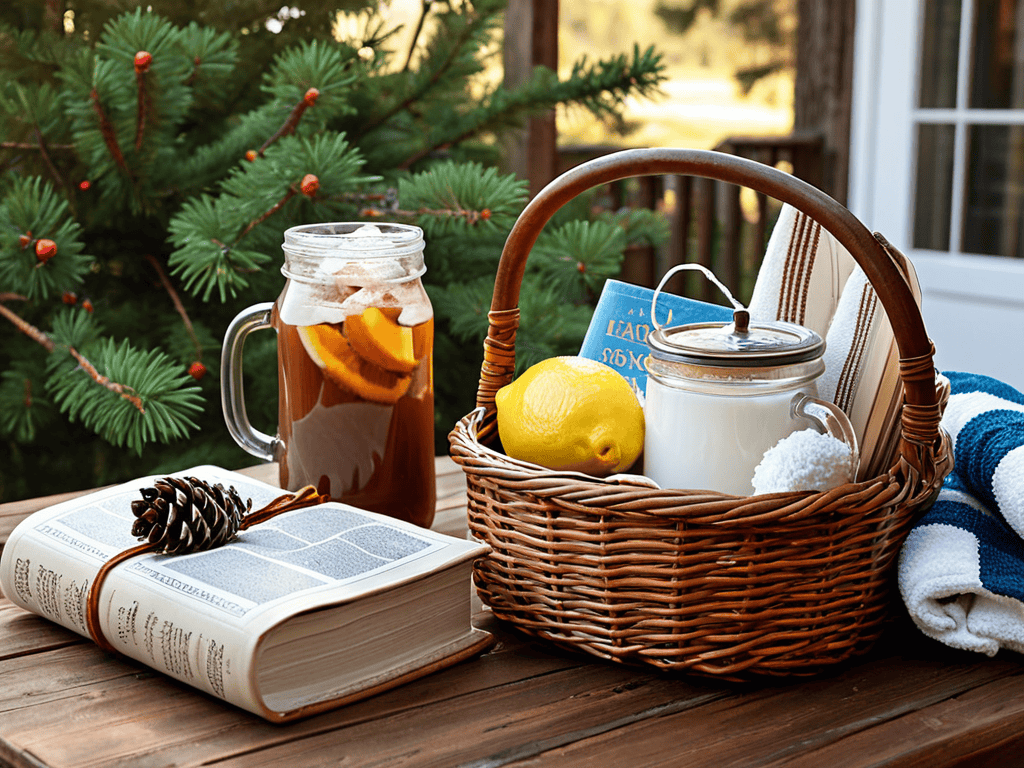
When it comes to seasonal gift basket ideas, the possibilities are endless. Consider the time of year and the recipient’s interests when selecting items for your basket. For example, a winter-themed basket might include hot cocoa mix, cozy socks, and a good book, while a summer basket could feature refreshing teas, sunscreen, and a beach towel.
To make your gift basket even more special, think about personalized gift basket concepts. You could include a monogrammed towel, a customized mug, or a photo album filled with memories. These touches will show the recipient that you put thought and effort into the gift.
For a truly unique gift, try exploring different gift basket themes for holidays. For instance, a Halloween-themed basket might include spooky snacks, a Halloween-themed movie, and some creepy decorations. By getting creative with your theme, you can create a one-of-a-kind gift that the recipient will never forget.
Personalized Gift Concepts
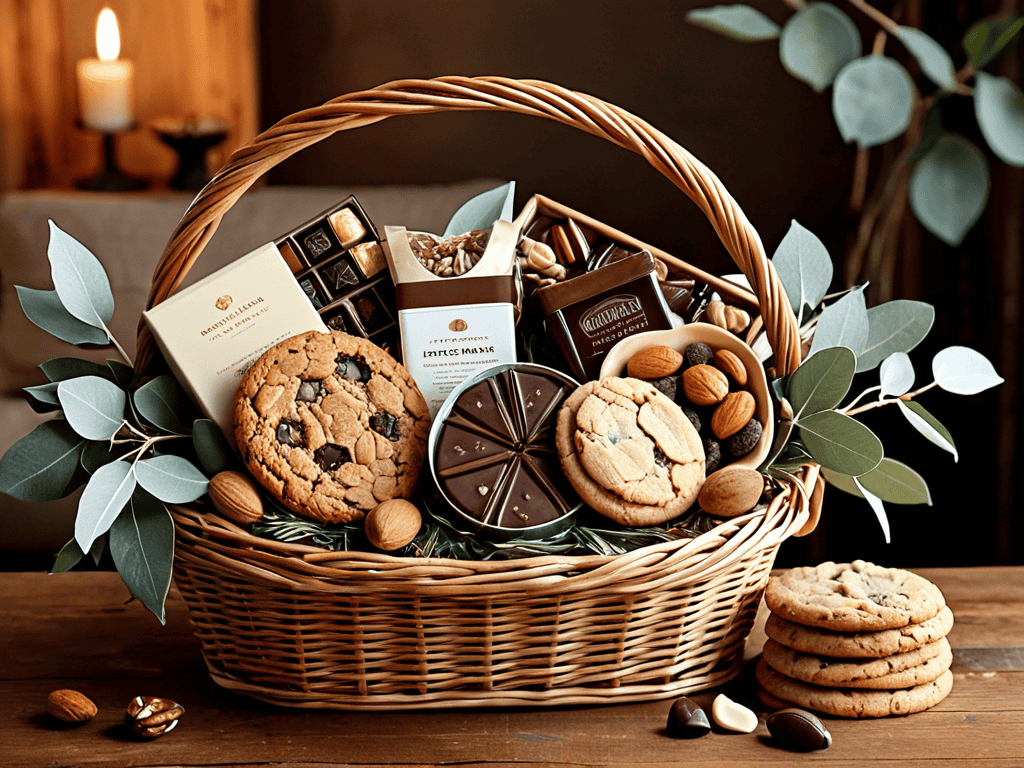
When it comes to making your gift basket truly special, personalized touches can make all the difference. Consider adding items that reflect the recipient’s interests or hobbies, such as a book by their favorite author or a gourmet food item that caters to their tastes. You could also include a handmade element, like a knitted scarf or a painting, to add a unique and thoughtful touch.
By tailoring your gift basket to the individual, you show that you’ve taken the time to think about their preferences and interests. This level of personalization can turn a simple gift into a meaningful and memorable experience, making the recipient feel seen and appreciated.
Seasonal Gift Basket Ideas
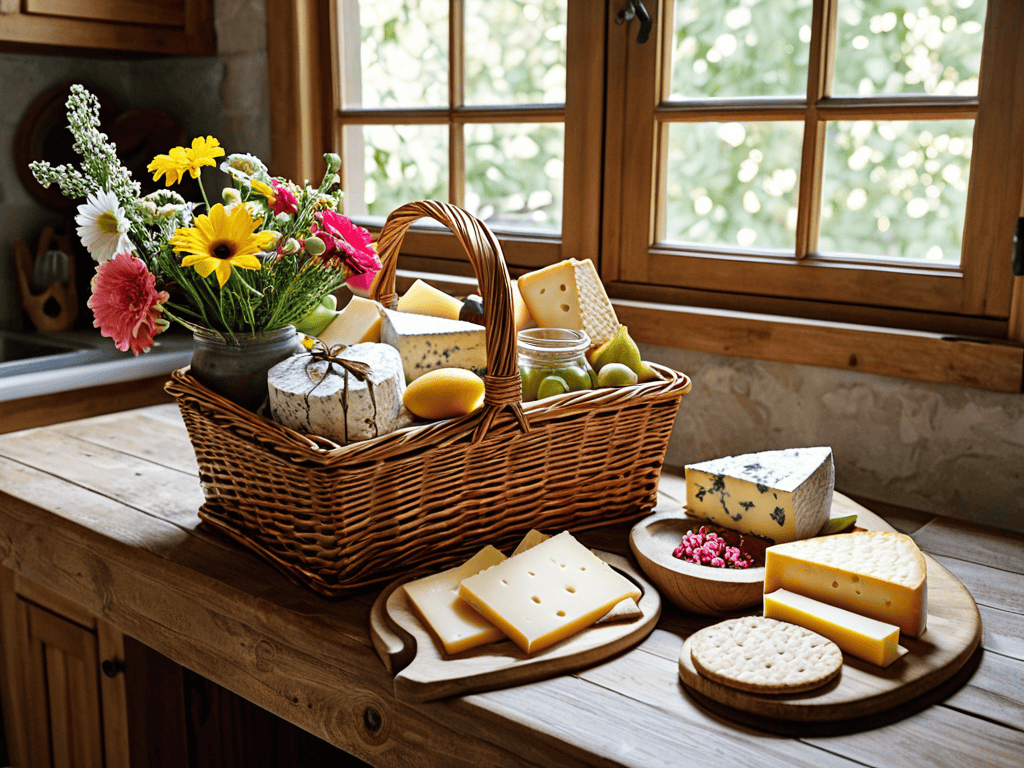
As the seasons change, so can the theme of your DIY gift baskets. For winter, consider a cozy basket filled with hot cocoa, marshmallows, and a soft blanket. In the spring, a basket overflowing with fresh flowers, herbal teas, and scented soaps can be a lovely gesture. Summer baskets might feature refreshing treats like lemonade, shortbread cookies, and a good book, while autumn baskets could include warm spices, apple cider, and a cozy scarf.
As you continue to explore the world of DIY gift baskets, you may find yourself looking for new and exciting ideas to make your creations truly special. If you’re looking for a unique twist, consider adding some sensual elements to your gift baskets, perfect for a romantic evening or a special occasion. For those interested in exploring this idea further, you can find a wealth of inspiration at sexinhannover, which offers a range of intimate and alluring concepts that can help elevate your gift-giving game. By incorporating these elements, you can create gift baskets that are not only beautiful but also thoughtfully curated to bring a touch of excitement and pleasure to the recipient’s life.
These seasonal themes can serve as a starting point for your creativity, allowing you to tailor your gift baskets to the recipient’s interests and preferences. By incorporating elements that reflect the current season, you can add an extra layer of thoughtfulness and personality to your DIY gift baskets.
Weaving Magic: 5 Essential Tips for Crafting Unforgettable DIY Gift Baskets
- Choose a theme or occasion to guide your gift basket’s content and design, making it more personal and relevant to the recipient
- Select a variety of items that complement each other in terms of texture, color, and scent to create a visually appealing and immersive experience
- Pay attention to the basket itself, opting for a container that is both functional and aesthetically pleasing, and that complements the items it will hold
- Add a personal touch with handmade or customized elements, such as a handwritten note, a monogrammed ribbon, or a small, crafted decoration
- Finish your gift basket with a flourish by adding some decorative filler, such as tissue paper, excelsior, or fresh greenery, to add depth and visual interest
Key Takeaways for Crafting Unforgettable Gift Baskets
By following a few simple steps, you can create a unique and personalized DIY gift basket that suits any occasion, from birthdays to holidays, and makes a lasting impression on your loved ones.
With a little creativity, you can transform ordinary items into extraordinary gifts by considering the recipient’s interests, preferences, and the current season, ensuring your gift basket is not only beautiful but also thoughtful and relevant.
Whether you’re aiming to wow someone special or simply want to add a personal touch to your gifts, the art of crafting DIY gift baskets offers endless possibilities for self-expression and connection, making it an activity that’s as rewarding to give as it is to receive.
The Gift of Thoughtfulness
A DIY gift basket is more than just a collection of items, it’s a tapestry of thoughts, woven together with love and care, to create a unique and unforgettable experience for the one who receives it.
Emily Wilson
Conclusion: Weaving a Gift of Love
As we’ve explored the world of DIY gift baskets, we’ve uncovered the secrets to creating truly unique and personalized presents. From seasonal gift basket ideas that capture the essence of holidays and special occasions, to personalized gift concepts that speak directly to the heart of the recipient, the possibilities are endless. By following the step-by-step guide and embracing your creativity, you can craft a gift that not only shows you care but also tells a story of love and appreciation.
So, the next time you’re thinking of a gift, remember that it’s the thought and effort that counts, not the price tag. Create something from the heart, and watch as your DIY gift basket brings joy and warmth to those around you. As you weave a little magic into every gift, you’ll find that the true beauty of DIY gift baskets lies not just in their appearance, but in the love and connection they foster.
Frequently Asked Questions
What are some unique and creative ways to theme a DIY gift basket for a specific occasion or holiday?
For a unique twist, try themed baskets like a ‘Spa Day’ for Mother’s Day, ‘Movie Night’ for a birthday, or ‘Gourmet Getaway’ for a foodie friend. You can also create seasonal baskets filled with products like pumpkin spice for fall or peppermint for winter.
How can I ensure that my DIY gift basket is visually appealing and well-arranged?
To make your DIY gift basket a visual stunner, start by choosing a unifying theme or color scheme. Then, balance heights and textures by placing taller items towards the back and softer ones upfront. Don’t forget to leave some negative space to avoid clutter – it’s all about creating a beautiful, harmonious arrangement that draws the eye in!
What are some budget-friendly tips for filling a DIY gift basket with a variety of interesting and useful items?
For a budget-friendly boost, consider thrift store finds, homemade treats, and samples from favorite brands. You can also repurpose items like teas, coffees, or spices to add a personal touch without breaking the bank. Get creative and think outside the box to fill your DIY gift basket with unique and useful goodies!