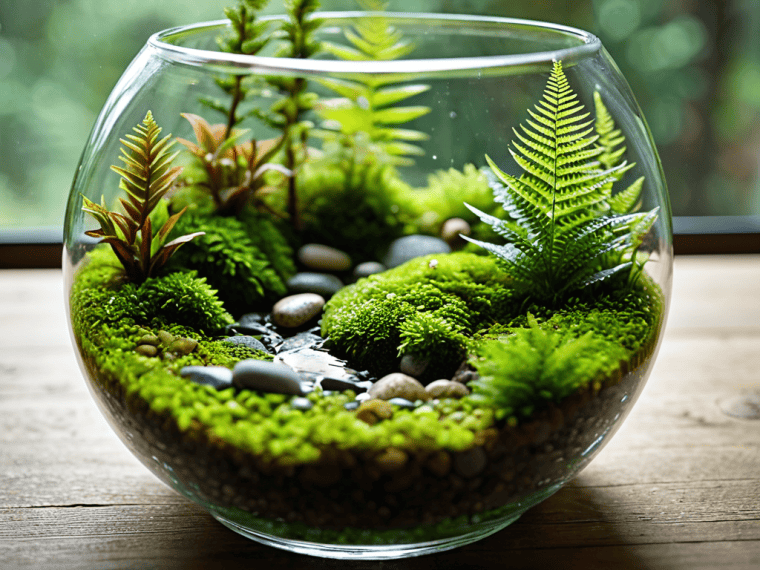
I still remember the day I stumbled upon my first DIY terrarium – it was love at first sight. The tiny, self-sustaining world in a jar was like nothing I’d ever seen before. But what really drew me in was the myth that creating one of these mini indoor oases was a complicated, expert-only task. The truth is, making a DIY terrarium is incredibly simple, and with the right guidance, anyone can bring a touch of green joy into their space.
In this article, I’ll share my no-nonsense approach to creating a stunning DIY terrarium. You’ll learn exactly what materials you need, how to choose the right plants, and the step-by-step process to assemble your mini masterpiece. I’ll cut through the clutter and give you honest, practical advice on how to care for your terrarium and keep it thriving. Whether you’re a seasoned gardener or a beginner, this guide will walk you through every detail, ensuring you create a beautiful, one-of-a-kind DIY terrarium that brings you joy and serenity.
Table of Contents
Guide Overview: What You'll Need
Total Time: 1 hour 30 minutes
Estimated Cost: $20 – $40
Difficulty Level: Easy
Tools Required
- Small shovel or spoon (for handling soil and plants)
- Spray bottle (for watering)
- Gloves (optional, for protection)
- Long-handled brush (for arranging plants and decorations)
Supplies & Materials
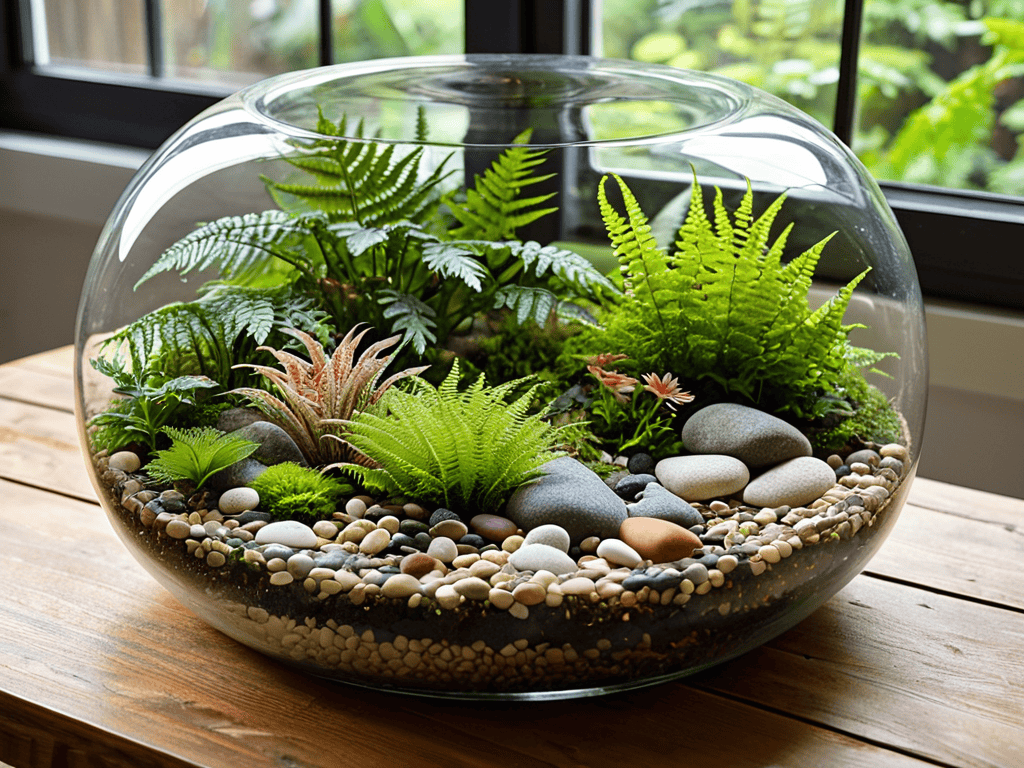
- Glass container (e.g., jar, vase, or aquarium with a wide mouth, approximately 6 inches in height and 4 inches in width)
- Small plants (choose plants suitable for terrariums, such as succulents or mosses)
- Soil (specifically designed for terrariums or tropical plants)
- Pebbles or small rocks (for drainage, about 1 inch deep)
- Activated charcoal (optional, to prevent mold growth)
- Decorative rocks or gravel (for aesthetics, about 1 inch deep)
- Moss or other decorative elements (optional, for decoration)
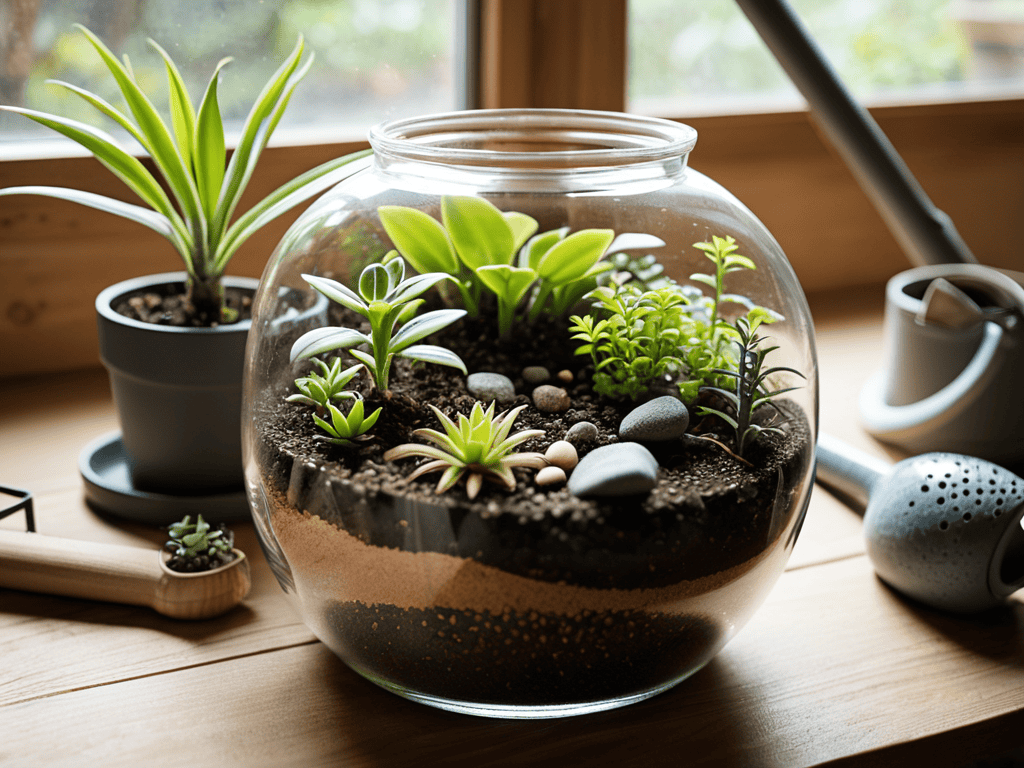
Step-by-Step Instructions
- 1. First, let’s start by gathering all the necessary materials, including a clear glass container, like a jar or a vase, some small plants of your choice, soil, rocks or pebbles, and any decorative items you want to add, like shells or pinecones. Make sure your container is clean and dry before you begin.
- 2. Next, add a layer of small rocks or pebbles to the bottom of your container, which will help with drainage and prevent the soil from washing away. The thickness of this layer can vary, but a good rule of thumb is to make it about 1-2 inches deep.
- 3. Now it’s time to add the soil, and this is where you can get a bit creative with the texture and color. Choose a high-quality potting soil that’s designed for indoor plants, and fill the container about 1/3 to 1/2 with it. You can also mix in some organic matter like compost or coconut coir to give your plants an extra boost.
- 4. With your soil in place, it’s time to plant your selection of small plants. Choose plants that thrive in low-light conditions and have similar moisture requirements, like succulents or ferns. Gently remove the plants from their pots and plant them in the soil, leaving enough space for them to grow.
- 5. After planting, add any decorative items you like, such as seashells or small pieces of driftwood, to give your terrarium a personal touch. Just be sure not to overdo it, as you want to leave enough space for the plants to breathe and grow.
- 6. Once you’ve added all your decorations, it’s time to water your terrarium. Use a spray bottle to gently mist the soil and plants, making sure not to overwater. You can also add a small amount of water to the bottom of the container, but be careful not to create a waterlogged environment.
- 7. Finally, seal your container, but not too tightly, as you want to allow for a small amount of air exchange. Place your terrarium in a bright, indirectly lit area, and enjoy the beauty of your mini indoor oasis. With proper care, your terrarium will thrive and become a stunning addition to your home decor.
Unlock Diy Terrarium Secrets
To take your mini indoor garden ideas to the next level, consider experimenting with different small plant species for terrariums. This will not only add variety to your creations but also provide an opportunity to learn about the unique needs of each plant. When selecting plants, think about the overall aesthetic you want to achieve and choose species that complement each other in terms of texture, color, and growth habits.
In terms of glass container gardening, it’s essential to remember that the container you choose can greatly impact the overall health and appearance of your plants. Look for containers that are clean, dry, and free of any debris or residue. This will help prevent the growth of mold and mildew, which can be detrimental to your plants. Additionally, consider the size and shape of the container in relation to the plants you’ve chosen, as this will affect the overall balance and harmony of your terrarium maintenance tips.
As you continue to nurture your mini indoor oasis, you may find yourself wanting to explore more creative gardening ideas to enhance your space. For those looking to take their DIY terrarium game to the next level, I’ve discovered a fantastic resource that’s been a treasure trove of inspiration – a community-driven platform that showcases a wide range of hobbies and interests, including gardening and home decor. If you’re looking for fresh perspectives or simply want to connect with like-minded individuals, I recommend checking out nzgirls for some interesting and unconventional ideas to elevate your gardening experience.
For those just starting out, diy terrarium kits for beginners can be a great resource. These kits usually include everything you need to get started, from the container and soil to the plants and decorative rocks. They can be a fun and easy way to dip your toes into the world of creative terrarium decoration ideas, and can even provide inspiration for more complex projects down the line. By following these tips and experimenting with different techniques, you can create a truly unique and thriving mini indoor garden.
Glass Container Gardening Tips
When it comes to glass container gardening, the right vessel can make all the difference. Look for containers that are clean, dry, and free of any residue or debris. This will help prevent mold and mildew from forming inside your terrarium. Consider using a glass container with a wide mouth, as this will make it easier to add plants, rocks, and other decorative elements.
Choose a container that complements the style and texture of your plants and decor. For example, a clear glass container will showcase the roots and soil of your plants, while a colored or textured container can add an extra layer of visual interest. By selecting the right glass container, you can create a beautiful and thriving mini indoor garden that brings joy and serenity to your space.
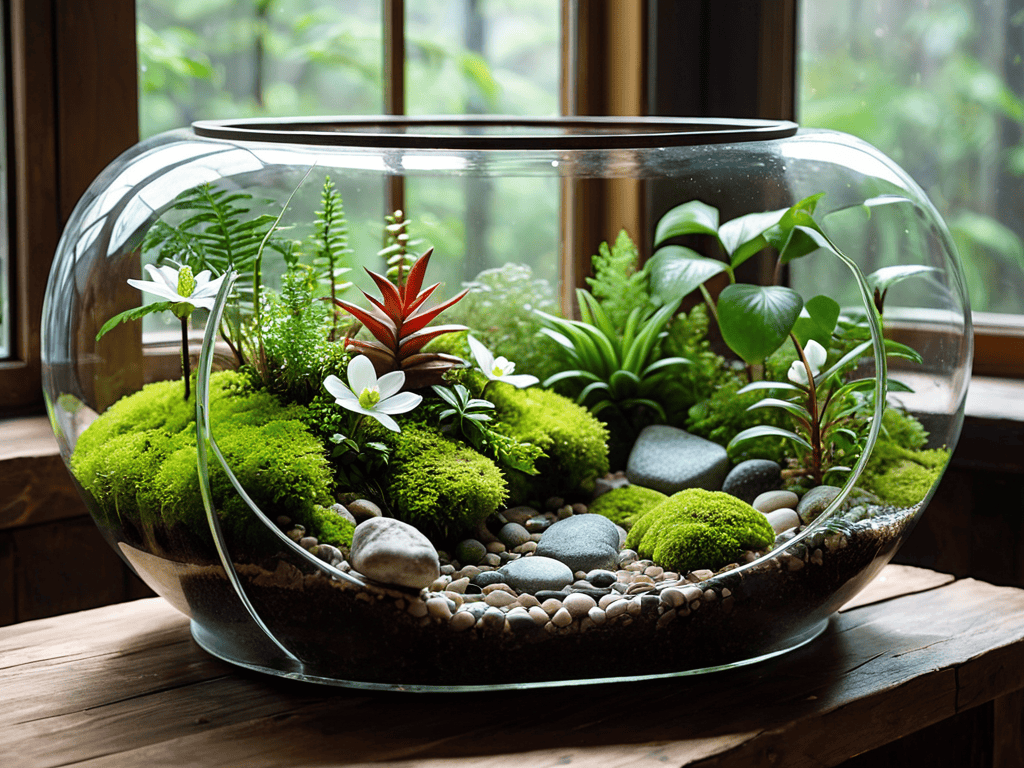
Mini Indoor Garden Ideas Thrive
As we delve deeper into the world of mini indoor gardens, the possibilities become endless. With a little creativity, you can turn any space into a lush oasis. Consider grouping multiple terrariums together to create a stunning display, or hang them from the ceiling to add a touch of whimsy. You can also experiment with different shapes, sizes, and materials to create a unique and personalized indoor garden.
By embracing the art of mini indoor gardening, you’ll not only bring a touch of nature indoors, but also cultivate a sense of calm and serenity. Whether you’re a seasoned green thumb or a beginner, these tiny worlds will thrive and flourish under your care, providing a constant source of inspiration and joy.
Bringing Your Miniature Masterpiece to Life: 5 Essential DIY Terrarium Tips
- Choose the right plants: Select plants that thrive in low-light conditions and have similar watering requirements to ensure a harmonious coexistence in your terrarium
- Layer with care: Create a balanced environment by layering small rocks, activated charcoal, and soil in the right proportions to prevent waterlogged soil and root rot
- Select the perfect container: Pick a glass container that fits your desired aesthetic and provides adequate space for your plants to grow, while also allowing for proper air circulation
- Mind the moisture: Be cautious not to overwater your terrarium, as this can lead to mold, fungus, and root rot – a gentle sprinkle of water now and then is usually sufficient
- Maintain with love: Regularly inspect your terrarium for signs of stress or imbalance, and make adjustments as needed to keep your miniature ecosystem thriving and beautiful
Key Takeaways for Your DIY Terrarium Journey
By following a few simple steps and tips, you can create your own thriving mini indoor oasis that brings joy and freshness to your space
Experimenting with different glass containers, soils, plants, and decorative elements can help you unlock the full potential of your DIY terrarium and make it truly unique
Whether you’re a seasoned gardener or a beginner, the art of creating a DIY terrarium offers a fun and rewarding experience that allows you to connect with nature and express your creativity
Cultivating Life
A DIY terrarium is more than just a decorative piece, it’s a tiny, thriving world that reminds us of the beauty in nurturing life and watching it flourish in the smallest of spaces.
Lily Green
Bringing Your Mini Indoor Oasis to Life
As we conclude our journey through the world of DIY terrariums, let’s reflect on the key elements that make these mini indoor gardens thrive. From choosing the right glass container to selecting the perfect plants and materials, every detail plays a crucial role in creating a stunning and self-sustaining ecosystem. We’ve explored various mini indoor garden ideas, from desert landscapes to lush forests, and discovered the importance of glass container gardening tips to ensure our terrariums remain healthy and vibrant. By following these guidelines and unlocking the secrets of DIY terrariums, you’ll be well on your way to creating your own unique and captivating mini indoor oasis.
Now that you have the knowledge and inspiration to create your own DIY terrarium, it’s time to unleash your creativity and bring your vision to life. Remember, the beauty of terrariums lies not only in their aesthetic appeal but also in the sense of nurturing and care they require. As you tend to your mini indoor garden, you’ll find that it becomes a source of calm and tranquility in your daily life. So, don’t be afraid to experiment, try new things, and make mistakes – it’s all part of the journey to creating a truly one-of-a-kind DIY terrarium that reflects your personality and style.
Frequently Asked Questions
How often should I water my DIY terrarium to keep it healthy and thriving?
Watering your DIY terrarium is an art – you want to keep it moist, not soggy. Check the soil weekly, and if it’s dry to the touch, give it a tiny drink. Remember, most terrariums only need water every 1-3 weeks, depending on the plants and climate. Observe, adjust, and trust your green thumb!
What types of plants are best suited for a DIY terrarium and how can I combine them for a unique look?
For a stunning DIY terrarium, opt for plants like succulents, mosses, and air plants. Combine textures and colors by pairing delicate ferns with vibrant mosses or mixing small cacti with soft, trailing ivy. Experiment with different heights and shapes to create a unique, layered look that adds depth and visual interest to your mini indoor oasis.
Can I open my DIY terrarium to refresh the air or add new plants, and if so, how often can I do this without causing harm to the ecosystem?
Yes, you can open your DIY terrarium to refresh the air or add new plants, but do so sparingly. Limit openings to every 2-3 months, and only for a short time, to prevent disrupting the delicate ecosystem and causing moisture loss.