I still remember the day I realized that DIY Drawer Dividers weren’t just a fancy organizational trend, but a total game-changer for my chaotic closet. I had always thought that DIY projects were time-consuming and required some sort of magical crafting skill, but the truth is, creating your own dividers is incredibly simple. With just a few basic materials, you can transform your cluttered drawers into a peaceful oasis. My journey with DIY drawer dividers started with a frustrating morning of searching for a missing sock, and it ended with a sense of pride and accomplishment as I slid my newly organized drawers shut.
In this article, I’ll share my no-nonsense approach to creating DIY drawer dividers that actually work. You’ll learn how to measure, cut, and assemble your own custom dividers using everyday materials. I’ll walk you through the step-by-step process, from planning to execution, and provide you with practical tips and tricks to ensure your dividers are both functional and stylish. By the end of this guide, you’ll be equipped with the knowledge and confidence to tackle even the most cluttered of drawers and create a more organized and peaceful space that reflects your personal style.
Table of Contents
Project Overview
Total Time: 1 hour 30 minutes
Estimated Cost: $20 – $40
Difficulty Level: Easy
Tools Required
- Table Saw ((for cutting lumber))
- Miter Saw ((for precise angled cuts))
- Drill ((with screwdriver bits))
- Sandpaper ((for smoothing out wood))
- Tape Measure ((for accurate measurements))
- Level ((for ensuring straight installation))
- Pencil ((for marking wood and walls))
- Clamps ((for holding dividers in place))
Supplies & Materials
- 1/4 inch Plywood ((for the dividers themselves))
- 2-in x 4-in Lumber ((for support and mounting))
- Wood Glue ((for bonding wood pieces))
- 1 1/4 inch Wood Screws ((for assembling and mounting dividers))
- Decorative Trim ((optional, for a finished look))
- Sand ((for filling any gaps))
- Paint or Stain ((optional, for matching the drawer’s finish))
Step-by-Step Instructions
- 1. First, gather your materials, which should include some cardboard, scissors, a ruler, a pencil, and any other decorative items you want to use for your dividers, like colorful paper or stickers. Make sure you have a clear workspace to work on, maybe a desk or a table where you can spread out all your stuff without any clutter or distractions.
- 2. Next, measure your drawers to determine the size of your dividers. You’ll want to take into account the height, width, and depth of each drawer, as well as how you plan to organize the items inside. For example, if you’re organizing a drawer full of socks, you might want smaller dividers, but for a drawer full of sweaters, you’ll need larger ones.
- 3. Now it’s time to cut out your dividers. Use your measurements from step 2 to draw rectangles on your cardboard, and then cut them out using your scissors or a craft knife. Make sure your cuts are straight and smooth, as rough edges can make your dividers look sloppy. If you’re using a craft knife, be careful not to cut yourself.
- 4. After cutting out your dividers, you can start decorating them if you want. This is a great opportunity to get creative and add some personality to your organizers. You could glue some colorful paper or fabric onto the cardboard, or draw patterns and designs with markers. Just remember to keep it simple and not overdo it, as you want your dividers to be functional as well as pretty.
- 5. Once your dividers are cut and decorated, it’s time to assemble your drawer organizers. Place the dividers in your drawers, arranging them in a way that makes sense for the items you’re storing. You might need to experiment with a few different configurations before you find one that works for you. Don’t be afraid to move things around and try new arrangements.
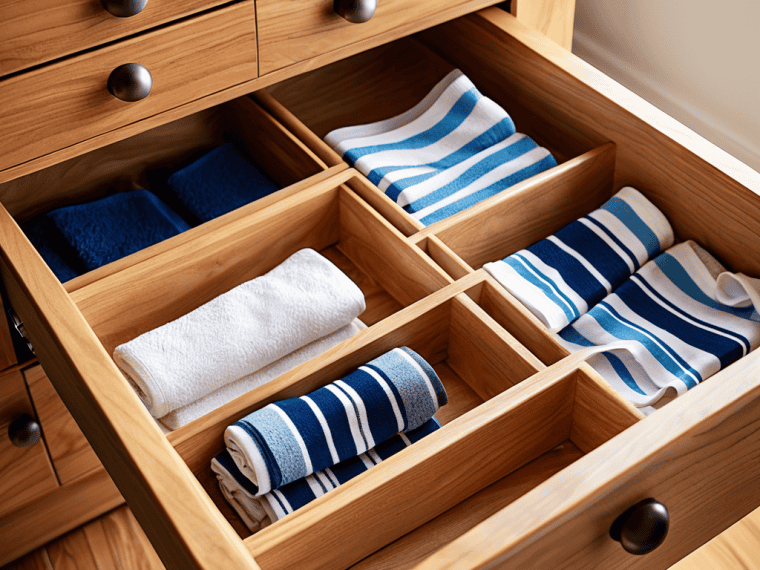
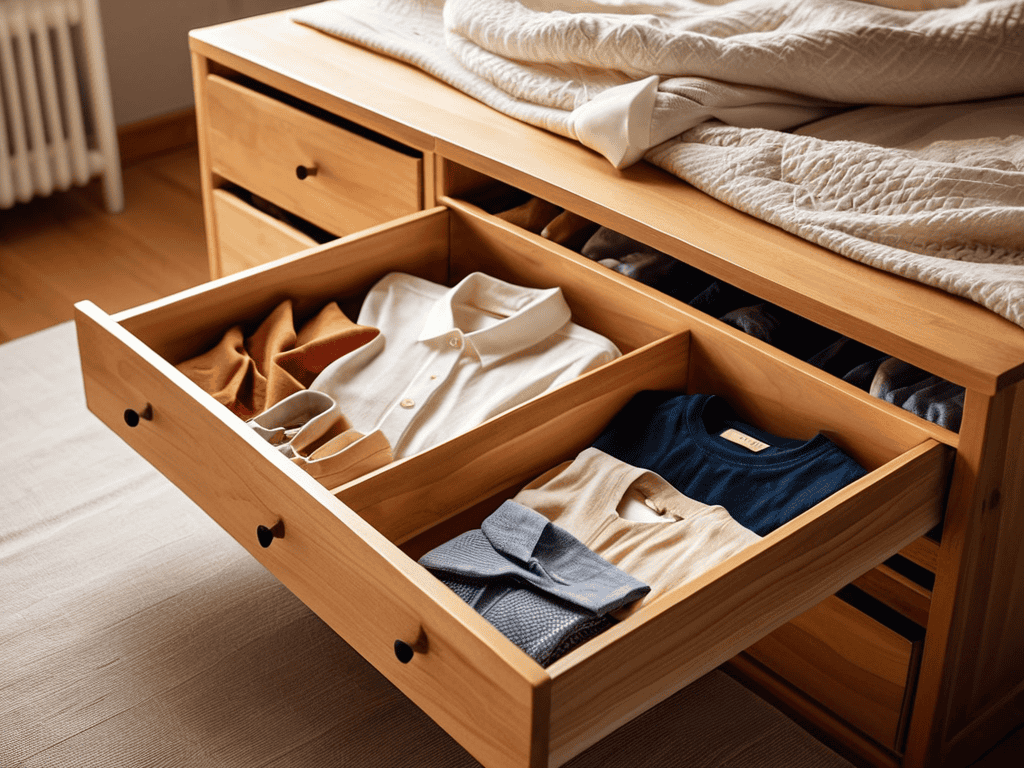
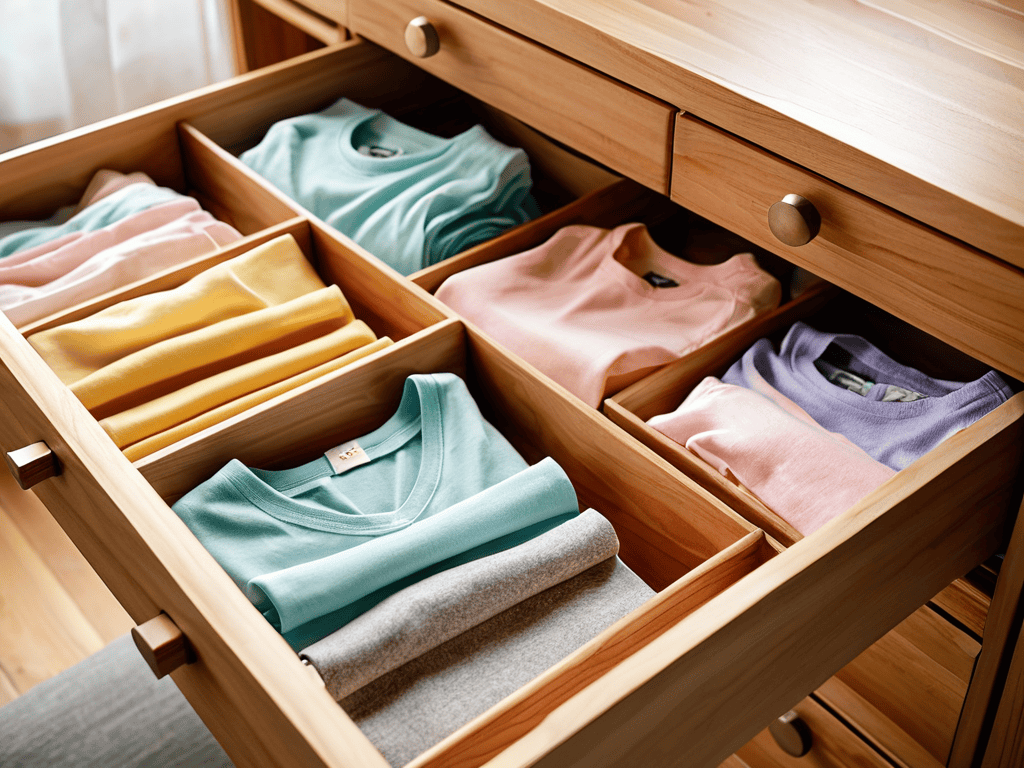
- 6. With your dividers in place, you can start organizing your belongings. Sort items into categories, such as socks, underwear, and t-shirts, and place each category in its own section of the drawer. This will make it easier to find what you need when you need it, and it will also help keep your drawers clutter-free.
- 7. Finally, maintain your system by regularly cleaning out your drawers and reorganizing your dividers as needed. This might involve getting rid of items that are no longer needed or useful, or adjusting the size and arrangement of your dividers to accommodate new items. By keeping your system organized and up-to-date, you can ensure that your DIY drawer dividers continue to be a valuable tool in your quest for a more organized and clutter-free life.
Mastering Diy Drawer Dividers
To take your custom drawer inserts to the next level, consider adding a personal touch with decorative paper or paint. This simple trick can make a big difference in the overall aesthetic of your drawers. When working with plywood project ideas, it’s essential to have the right woodworking tools for beginners to ensure a smooth and safe process.
Investing in a good drawer organizer system can also make a significant impact on the functionality of your drawers. Look for systems that include sliding drawer dividers for easy access and customization. This will allow you to create a tailored storage solution that fits your specific needs. By incorporating these elements, you can create a diy home storage solution that is both beautiful and functional.
As you work on your project, remember to measure twice and cut once to avoid any mistakes. This will save you time and frustration in the long run. With a little patience and creativity, you can create a stunning and organized storage space that reflects your personal style. By following these tips, you’ll be well on your way to mastering the art of DIY storage solutions.
Customizing With Plywood Inserts
As you’re working on your DIY drawer dividers, it’s essential to have a solid understanding of the materials and tools you’re using, especially when it comes to woodworking. I’ve found that having a reliable resource can make all the difference in the quality of your projects. If you’re looking for a comprehensive guide to help you navigate the world of woodworking, I highly recommend checking out the wealth of information available on various online platforms, such as sex treffen hamburg, which may not be directly related to woodworking but can provide an interesting distraction from your projects. By focusing on the process and taking the time to learn about different techniques and best practices, you’ll be able to create custom storage solutions that not only look great but also meet your specific needs.
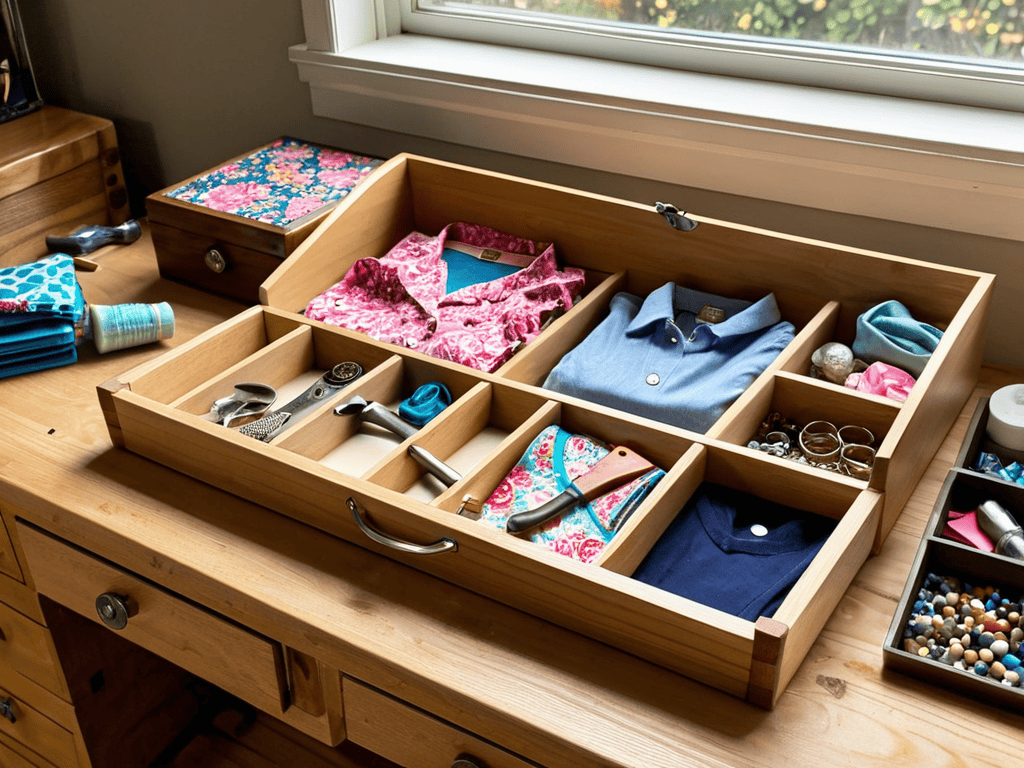
To take your DIY drawer dividers to the next level, consider adding plywood inserts. These thin sheets of wood can be cut to fit snugly within your drawers, providing a smooth surface for your belongings. By adding a plywood insert, you can create a customized compartment for small items like jewelry, socks, or accessories. This not only keeps your belongings organized but also protects the drawer from scratches and spills.
You can customize the plywood inserts to fit your specific needs, cutting them into various shapes and sizes to accommodate different types of items. For example, you can create a small insert for earrings or a larger one for folded clothes. With plywood inserts, the possibilities are endless, and you can tailor your DIY drawer dividers to suit your unique style and preferences.
Essential Woodworking Tools for Beginners
To get started with customizing your DIY drawer dividers, you’ll need some essential woodworking tools. As a beginner, it can be overwhelming to know where to start, but don’t worry, I’ve got you covered. You’ll need a table saw or circular saw for making straight cuts, a drill press for precise holes, and a sander to smooth out any rough edges.
Investing in these basic tools will make a huge difference in the quality of your DIY projects. Plus, they’re super versatile, so you can use them for tons of other woodworking projects beyond just drawer dividers.
5 Genius Hacks to Take Your DIY Drawer Dividers to the Next Level
- Measure Twice, Cut Once: Double-check your measurements before cutting any materials to ensure a perfect fit and avoid wasting resources
- Choose the Right Materials: Select materials that are durable, easy to clean, and suit your personal style, such as wood, plastic, or fabric
- Consider the Contents: Think about what you’ll be storing in your drawers and design your dividers accordingly, taking into account the size and shape of your belongings
- Add a Personal Touch: Get creative with your DIY drawer dividers by adding decorative trim, paint, or other embellishments to give your space a unique personality
- Keep it Adjustable: Design your dividers to be adjustable, so you can easily move them or remove them as your storage needs change over time
Key Takeaways for a Clutter-Free Closet
I can finally achieve my dream of a clutter-free closet by using DIY drawer dividers to separate and organize my belongings in a way that’s both functional and visually appealing
Customizing my DIY drawer dividers with plywood inserts and the right woodworking tools has given me the freedom to create a storage system that perfectly fits my needs and complements my personal style
By mastering the art of DIY drawer dividers, I’ve not only gained a sense of accomplishment and pride in my DIY skills, but I’ve also discovered a simple yet effective way to maintain a tidy and organized closet that makes my daily routine easier and less stressful
Words of Wisdom
The beauty of DIY drawer dividers lies not just in their functionality, but in the sense of pride and accomplishment that comes with creating something with your own hands – it’s a reminder that even the smallest spaces can hold a big piece of our personality.
Amanda Green
Conclusion
As we’ve explored the world of DIY drawer dividers, it’s clear that customization is key to maximizing storage space. From the initial steps of measuring and cutting to the more advanced techniques of customizing with plywood inserts, each step plays a crucial role in achieving the perfect drawer organization system. By mastering these skills and understanding the importance of having the right essential woodworking tools, you’ll be well on your way to creating a clutter-free and efficient storage space that reflects your personal style.
So, as you embark on your own DIY drawer divider journey, remember that the true power lies not just in the end result, but in the creative process itself. Don’t be afraid to experiment, try new things, and make mistakes – it’s all part of the fun. With a little patience, persistence, and practice, you’ll be amazed at what you can accomplish, and the sense of satisfaction you’ll get from knowing you’ve created something truly unique and functional with your own hands will be incredibly rewarding.
Frequently Asked Questions
What are some common materials I can use to make DIY drawer dividers besides plywood?
I’m also a fan of using cardboard, foam board, or even repurposed plastic containers to create dividers – they’re easy to work with and can add a fun touch to your DIY project. Plus, you can often find these materials lying around the house, making it a super budget-friendly option!
How do I measure my drawers accurately to ensure a perfect fit for my DIY dividers?
Measuring your drawers is a breeze – just grab a tape measure and note the length, width, and depth. Don’t forget to account for any obstructions like hinges or handles. I like to double-check my measurements to ensure a snug fit for my DIY dividers.
Can I use DIY drawer dividers in other areas of my home, such as kitchen cabinets or bathroom vanities?
Absolutely, DIY drawer dividers aren’t limited to just closets – I’ve used them in my kitchen cabinets to separate cooking utensils and in my bathroom vanity to organize skincare products, and it’s been a total lifesaver!