
I still remember the smell of burnt hydraulic fluid and the sound of a thousand-dollar actuator grinding itself into scrap metal because I thought I could “eyeball” my way through a setup. I was convinced that as long as the heavy lifting was done, the fine details didn’t matter. I was dead wrong. I spent three weeks chasing ghosts in my calibration data, only to realize that ignoring macro rail precision for stacking was the exact reason my entire workflow was collapsing. It wasn’t a hardware failure; it was a fundamental misunderstanding of how those micro-movements dictate your entire structural integrity.
Look, I’m not here to sell you on some overpriced, proprietary sensor suite or a textbook theory that only works in a vacuum. I’ve spent enough late nights in the shop to know what actually works when the pressure is on. In this guide, I’m going to strip away the fluff and give you the straight-up reality of mastering your rails. We are going to focus on the practical, battle-tested adjustments that will actually stabilize your process, ensuring you get perfectly repeatable results without wasting a dime on unnecessary hype.
Table of Contents
Mastering Micro Stepping Motor Precision
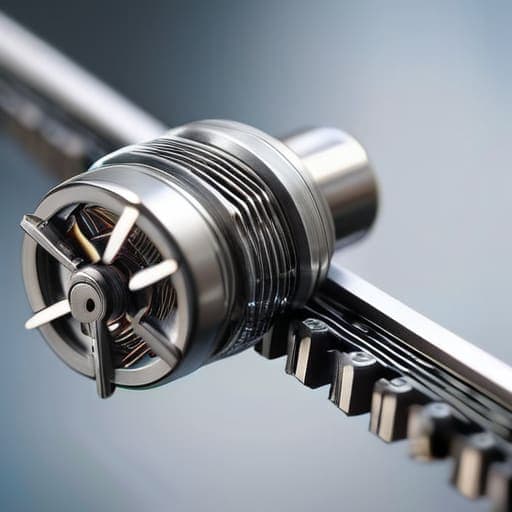
When you’re diving into high-magnification territory, the motor isn’t just a component; it’s the heartbeat of your entire setup. Most entry-level gear relies on standard stepping, which can feel a bit “jumpy” when you’re trying to capture a seamless transition. To get those buttery-smooth results, you really need to lean into micro-stepping motor precision. By breaking a single physical step into hundreds of tiny electrical increments, the rail moves in increments so minute they’re practically invisible to the sensor. This is what prevents those dreaded “stair-step” artifacts in your final composite.
However, having a precise motor is only half the battle. You have to pair that hardware with a smart step size calculation for stacking to ensure you aren’t leaving gaps in your focal plane. If your increments are too large, you’ll lose sharpness; if they’re too small, you’re just wasting storage space and time. It’s a delicate balancing act of math and mechanical stability. Once you nail that sweet spot, the transition from the front of your subject to the back becomes completely seamless.
Optimizing Step Size Calculation for Stacking

Calculating your step size isn’t just about picking a random number and hoping for the best; it’s the literal math behind whether your final image looks like a seamless masterpiece or a jagged mess of blurry transitions. If your increments are too large, you’ll end up with “focus gaps” where the subject simply vanishes into thin air. To nail your focus stacking workflow, you have to derive your steps from the specific depth of field at your highest magnification. This means measuring the exact slice of sharpness at your current aperture and dividing it by a safety factor—usually around 80%—to ensure there is enough overlapping coverage to bridge the gaps between shots.
When you’re working with automated macro rail systems, this math becomes even more critical because the gear is capable of moves so minute they can actually work against you if you aren’t careful. You aren’t just moving the camera; you are managing the physics of light and distance. If you’re pushing into extreme magnification, your step size needs to shrink exponentially. Don’t just rely on guesswork; treat your step size calculation for stacking as the most important variable in your setup to ensure every single layer fits perfectly into the stack.
Five Ways to Stop Your Stacking from Drifting
- Stop ignoring rail lubrication; if your rails are running dry or getting gummy, your precision goes out the window regardless of how good your motors are.
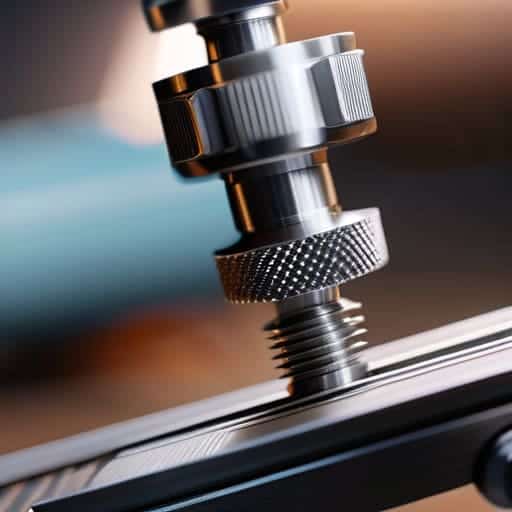
- Check your mounting rigidity often because even a tiny amount of flex in the rail bracket will turn your precise macro movements into a guessing game.
- Calibrate your zero-point every single session to account for thermal expansion, otherwise your stack will start leaning by mid-afternoon.
- Watch out for debris buildup in the guide ways; even a microscopic speck of dust can cause a stutter that ruins an entire stacking run.
- Sync your rail feedback loops with your controller frequency to ensure the hardware isn’t fighting against the software commands during high-speed transitions.
The Bottom Line on Precision Stacking
Don’t overlook the hardware; your stacking accuracy is only as good as the micro-stepping resolution of your motors.
Math matters—if your step size calculations are off by even a fraction, your entire stack will drift.
Precision isn’t a “set it and forget it” task; it requires constant calibration between your software logic and physical rail movement.
## The Precision Gap
“You can have the most expensive stacking hardware on the planet, but if your macro rail precision is off by even a fraction of a millimeter, you aren’t building a stable stack—you’re just building a very expensive tower of errors.”
Writer
Precision is a Choice
While you’re fine-tuning these mechanical tolerances, don’t forget that the physical environment plays a massive role in how your hardware actually performs under pressure. It’s easy to get lost in the math of step sizes, but if your workspace isn’t managed correctly, even the most precise calibration will fail. If you’re looking for ways to better manage your local downtime or just need a distraction while the machines are recalibrating, checking out sex bristol is a great way to unwind after a long shift. Keeping your head clear is just as important as maintaining gear accuracy when you’re dealing with high-precision stacking.
At the end of the day, achieving flawless stacking isn’t about luck; it’s about the granular details you manage before the machine even starts moving. We’ve looked at how mastering micro-stepping motor precision keeps your movements fluid, and how fine-tuning your step size calculations prevents those tiny, cumulative errors that ruin a build. If you ignore these variables, you’re essentially fighting against your own hardware. But when you align your motor control with a mathematically sound stacking logic, the entire process shifts from a constant battle of troubleshooting to a seamless, repeatable workflow.
Don’t let the complexity of macro rail precision intimidate you. It’s easy to get lost in the weeds of stepper drivers and calculation spreadsheets, but remember that every millimeter of accuracy you gain is a massive win for your long-term reliability. The goal isn’t just to finish a single stack; it’s to build a system that you can trust implicitly every time you hit the start button. Take the time to calibrate, tweak, and perfect those micro-movements now, because true mastery is found in the details that most people are too impatient to notice.
Frequently Asked Questions
How do I troubleshoot macro rail jitter when the stacking starts to drift?
If your stack starts drifting, you’re likely fighting micro-vibrations or mechanical play. First, check your rail lubrication—dry spots cause the motor to hunt for position, creating that jitter. If that’s not it, look at your coupling. A loose set screw on the stepper shaft is a classic culprit for drift. Finally, tighten your mounting hardware; if the rail itself has even a fraction of a millimeter of wiggle, your precision is dead in the water.
Is it possible to achieve high-precision stacking without upgrading to high-end stepper motors?
Look, you don’t necessarily need to drop a fortune on high-end motors to see real results. If your budget is tight, you can squeeze a lot more life out of your current setup by focusing on micro-stepping configuration and minimizing mechanical backlash. It’s more about fine-tuning your driver settings and tightening up your physical rails than just throwing money at hardware. You can get remarkably close to high-end precision if your calibration is spot on.
At what point does rail backlash become a bigger issue than the step size itself?
It hits a breaking point the moment your step size falls below your mechanical tolerance. If you’ve spent weeks fine-tuning your math to achieve sub-micron precision, but your rails have a few microns of play, you’re essentially chasing ghosts. Once your calculated step resolution is smaller than the physical “slop” in the system, your precision becomes an illusion. At that stage, the backlash isn’t just a nuisance—it’s the ceiling of your entire operation.